The phrase "same-day publishing" sounds aspirational until you've done it a few times, and then it just sounds like the minimum viable standard. This guide is about the actual sequence — what happens in what order, what decisions get made in advance rather than at the moment of upload, and where in the chain most solo podcasters lose time without knowing it.
The workflow assumes a morning record, an afternoon publish. Adjust the timestamps to your schedule, but the order matters more than the clock.
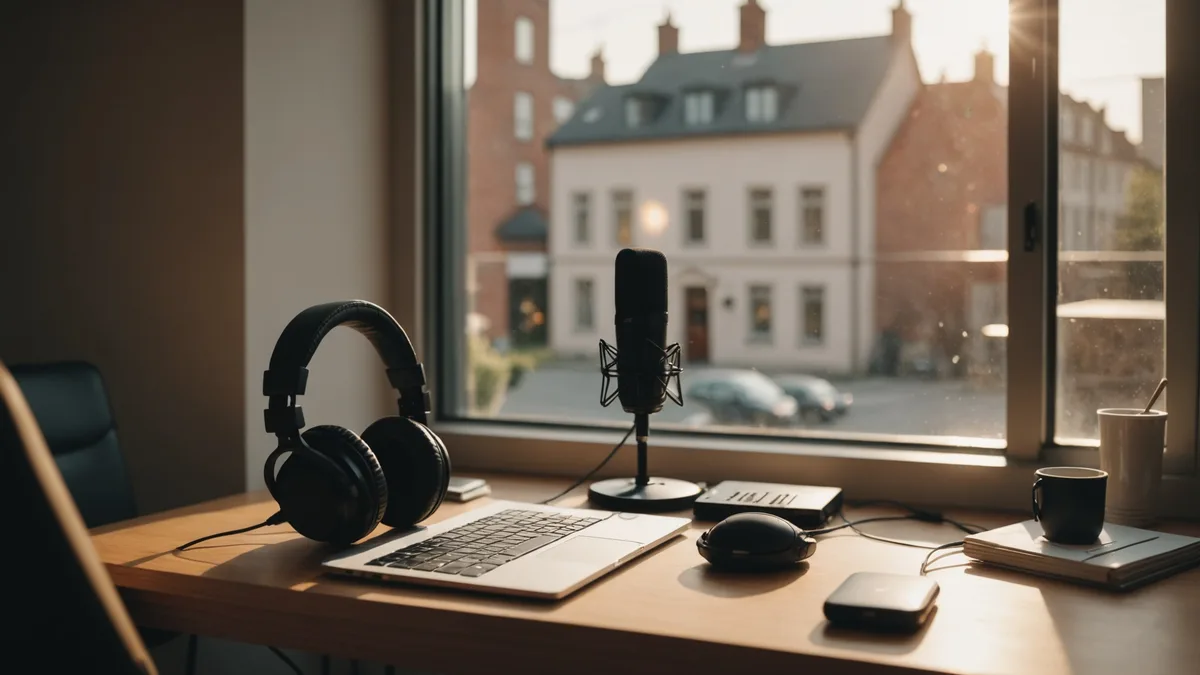
Before you hit record: the pre-session checklist
Same-day publishing doesn't start when you sit down to edit. It starts the session before, when you set up the conditions that make a clean edit possible. Most of the time lost in same-day workflows is actually time recovering from pre-recording decisions that weren't made explicitly.
Room state. Check your recording environment for anything that'll show up in the audio. HVAC running, phone notifications on, windows open to street noise — these aren't problems you can fix in post without significant effort. Two minutes of room scan before the first word saves 20 minutes of noise reduction later.
Gain staging. Set your input gain so peaks land in the −18 to −12 dBFS range on your recording software's meter. This headroom allows your loudness normalization pass after editing to hit the −16 LUFS target required by most platforms without introducing audible artifacts. Recording at −6 dBFS peak leaves you no room; recording at −30 dBFS peak gives you so much quiet that even modest background noise becomes a meaningful floor problem.
Episode structure in writing. Not a word-for-word script, but a bullet outline: intro, four to six topic segments, outro. If you have a guest, share the topic order with them the night before. The mental overhead of "where is this conversation going?" during the recording is significant. A five-minute outline eliminates most of it.
Show notes template pre-filled. Have your show notes document open with the header fields already filled: episode title, episode number, date, guest name and bio if applicable. Leave the chapter sections blank. They'll fill from your chapter markers after the edit. Having the template ready means you're not constructing a document from scratch in the 45 minutes before you want to publish.
The recording session: decisions that cut edit time
A two-hour interview doesn't have to produce two hours of editing work. The habits that compress edit time are established during the recording.
Mark your mistakes in real time. When you flub a line, trip over a word, or need to restart a thought, make a verbal marker: "let me take that again from..." or clap once loudly before the re-take. These create visible spikes in the waveform that are easy to find during editing, and they tell you exactly where the usable take begins. This takes zero extra time during recording and saves 10–15 minutes of hunting through the waveform afterward.
Don't stop for small things. A mild "um" or a slightly awkward sentence is not a reason to stop and re-record in a solo show. The automated silence and filler removal pass handles most of those. Stopping and restarting for minor imperfections creates more edit points, not fewer, and fragments the conversational energy that makes the recording worth editing in the first place.
Record to the end without reviewing. The temptation to play back sections mid-recording is strong and harmful to the same-day timeline. You have a mental model of the show from having just lived it. Trust that model and review during the edit pass, not during the session.
The upload and automated edit window
For a 90–120 minute raw recording, automated processing — silence and filler removal, transcription, chapter detection — typically runs for 10–20 minutes on most current tools. This is your window to do something else: eat, move, review your outline notes. The automated pass is not your edit; it's the rough cut that your edit pass refines.
When the automated pass returns, you're looking at a waveform that's already been trimmed of the longest silences and most obvious dead air. Your job in the manual review is three things:
- Spot-check 2–3 sections that you remember being conversationally dense or where the pacing might have been affected by aggressive trimming.
- Review the chapter titles proposed by the automatic detection, and rename any that are too generic to be useful. This takes 10 minutes for a typical episode and directly improves discovery (see our separate piece on chapter markers and SEO).
- Skim the transcript for speaker label errors — misidentified speakers, proper nouns that need correction, or technical terms the model handled incorrectly. The transcript is your show notes source material; errors in it become errors in your published notes.
The loudness normalization pass — where most people skip a step
The most commonly skipped step in solo podcast workflows is also the one that most affects the listener's first impression. Loudness normalization to −16 LUFS integrated (the standard target for Apple Podcasts, Spotify, and most other platforms) is not something most podcast hosting platforms do for you at a level that matches your intent — they apply their own normalization, but it's a normalized version of what you uploaded, not a replacement for doing it yourself.
A solo podcaster recording at home who doesn't normalize will often submit episodes at anywhere from −18 to −22 LUFS integrated, which sounds noticeably quieter than the adjacent episode from a different show. A listener who has to turn up their volume for your show and then gets blasted by the next episode is getting a friction signal that you could have eliminated in two minutes with an integrated loudness check and export.
Run a loudness normalization export targeting −16 LUFS integrated, −1.0 dBTP true peak maximum. This is the standard target. Your editing tool should support this export setting directly. If it doesn't, it's worth finding one that does — this is a table-stakes feature for podcast post-production.
Show notes and episode metadata: write from the chapter list
With chapter titles finalized after the edit pass, show notes become a structured expansion rather than a blank-page writing task. Your chapter list is already an outline:
Take each chapter title. Write two to four sentences underneath it summarizing what the listener will hear in that section. Include any names, tools, books, or URLs that were referenced. Add the episode description (two to three sentences summarizing the whole episode) at the top, and a brief bio for any guest at the bottom. For a six-to-eight chapter episode, this is 20–30 minutes of writing, not an hour.
Copy the chapter list with timestamps into your podcast host's episode notes field as well — most hosts pass this through to the platforms. The Podcasting 2.0 chapters file (if your host supports it) should also be uploaded at this stage.
The final sequence before upload
Before submitting the episode to your host, run through four items: loudness target confirmed (−16 LUFS integrated), true peak under −1 dBTP, episode title and number correct in the file metadata, and show notes proofread once. This is a two-minute review, not a process. If you do it consistently, you stop publishing episodes with the wrong episode number in the ID3 tags or show notes that reference a guest's name incorrectly.
The whole sequence — morning record, upload to processing, manual review and chapter edit, loudness export, show notes write, submit to host — takes roughly four to five hours for a 90-minute solo episode when the pre-recording decisions have been made correctly. That's a half-day, not two days. The gap between those two numbers is almost entirely explained by the decisions made before the record button was pressed, not by the editing tools used after.